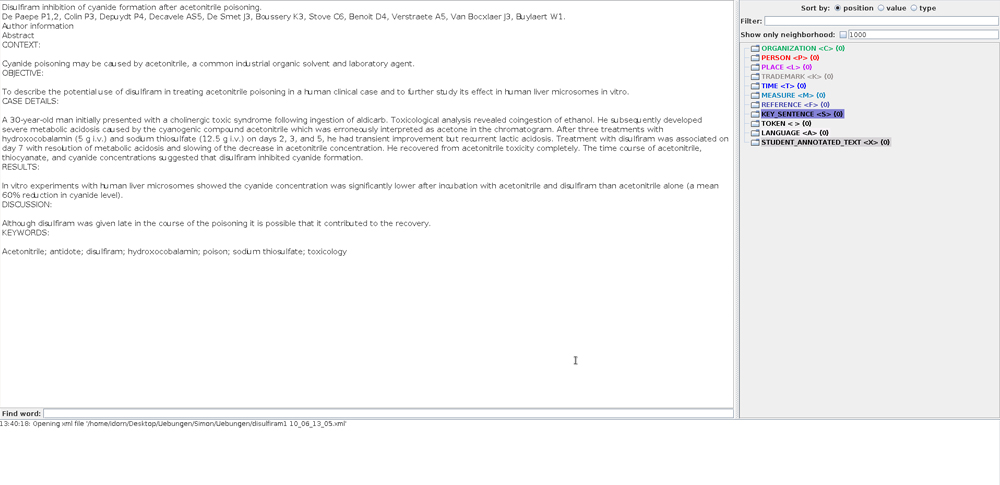
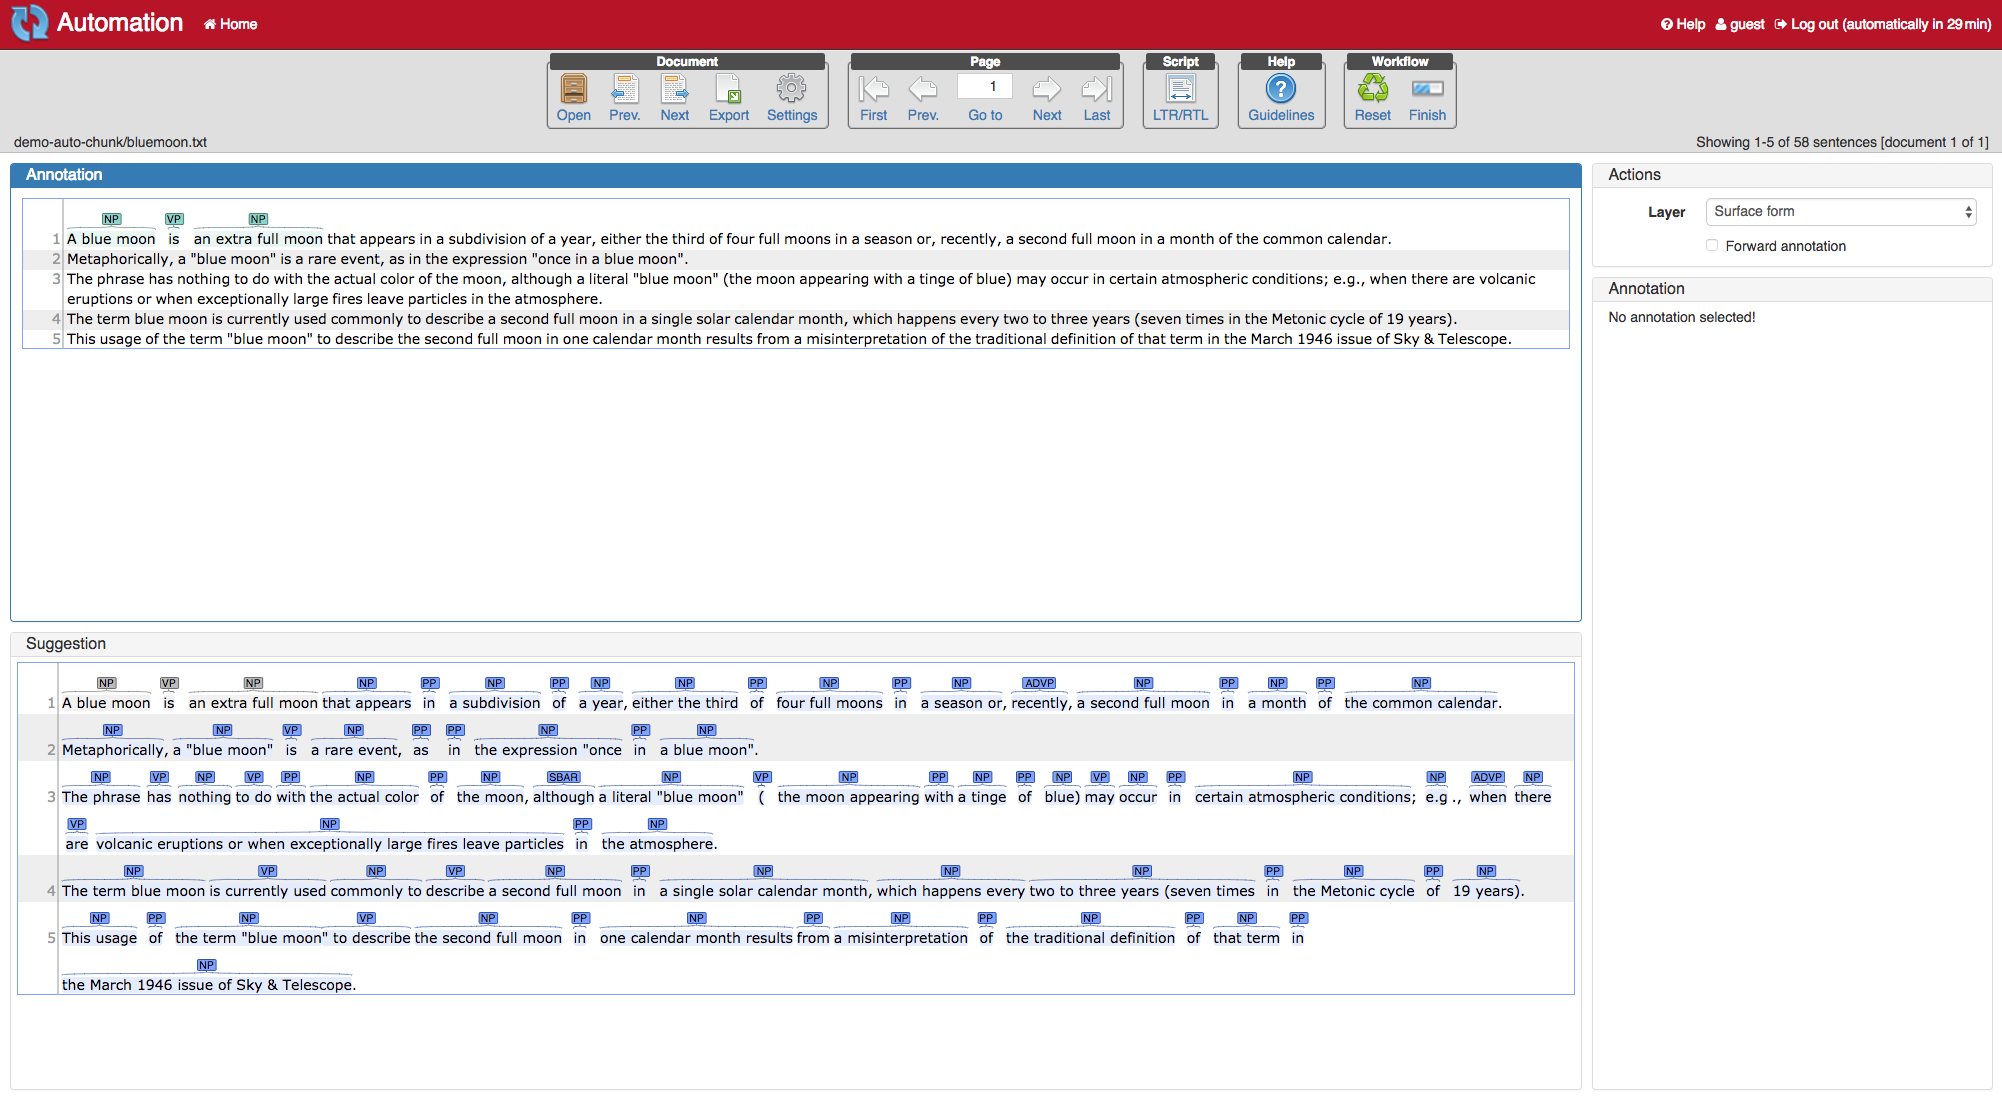
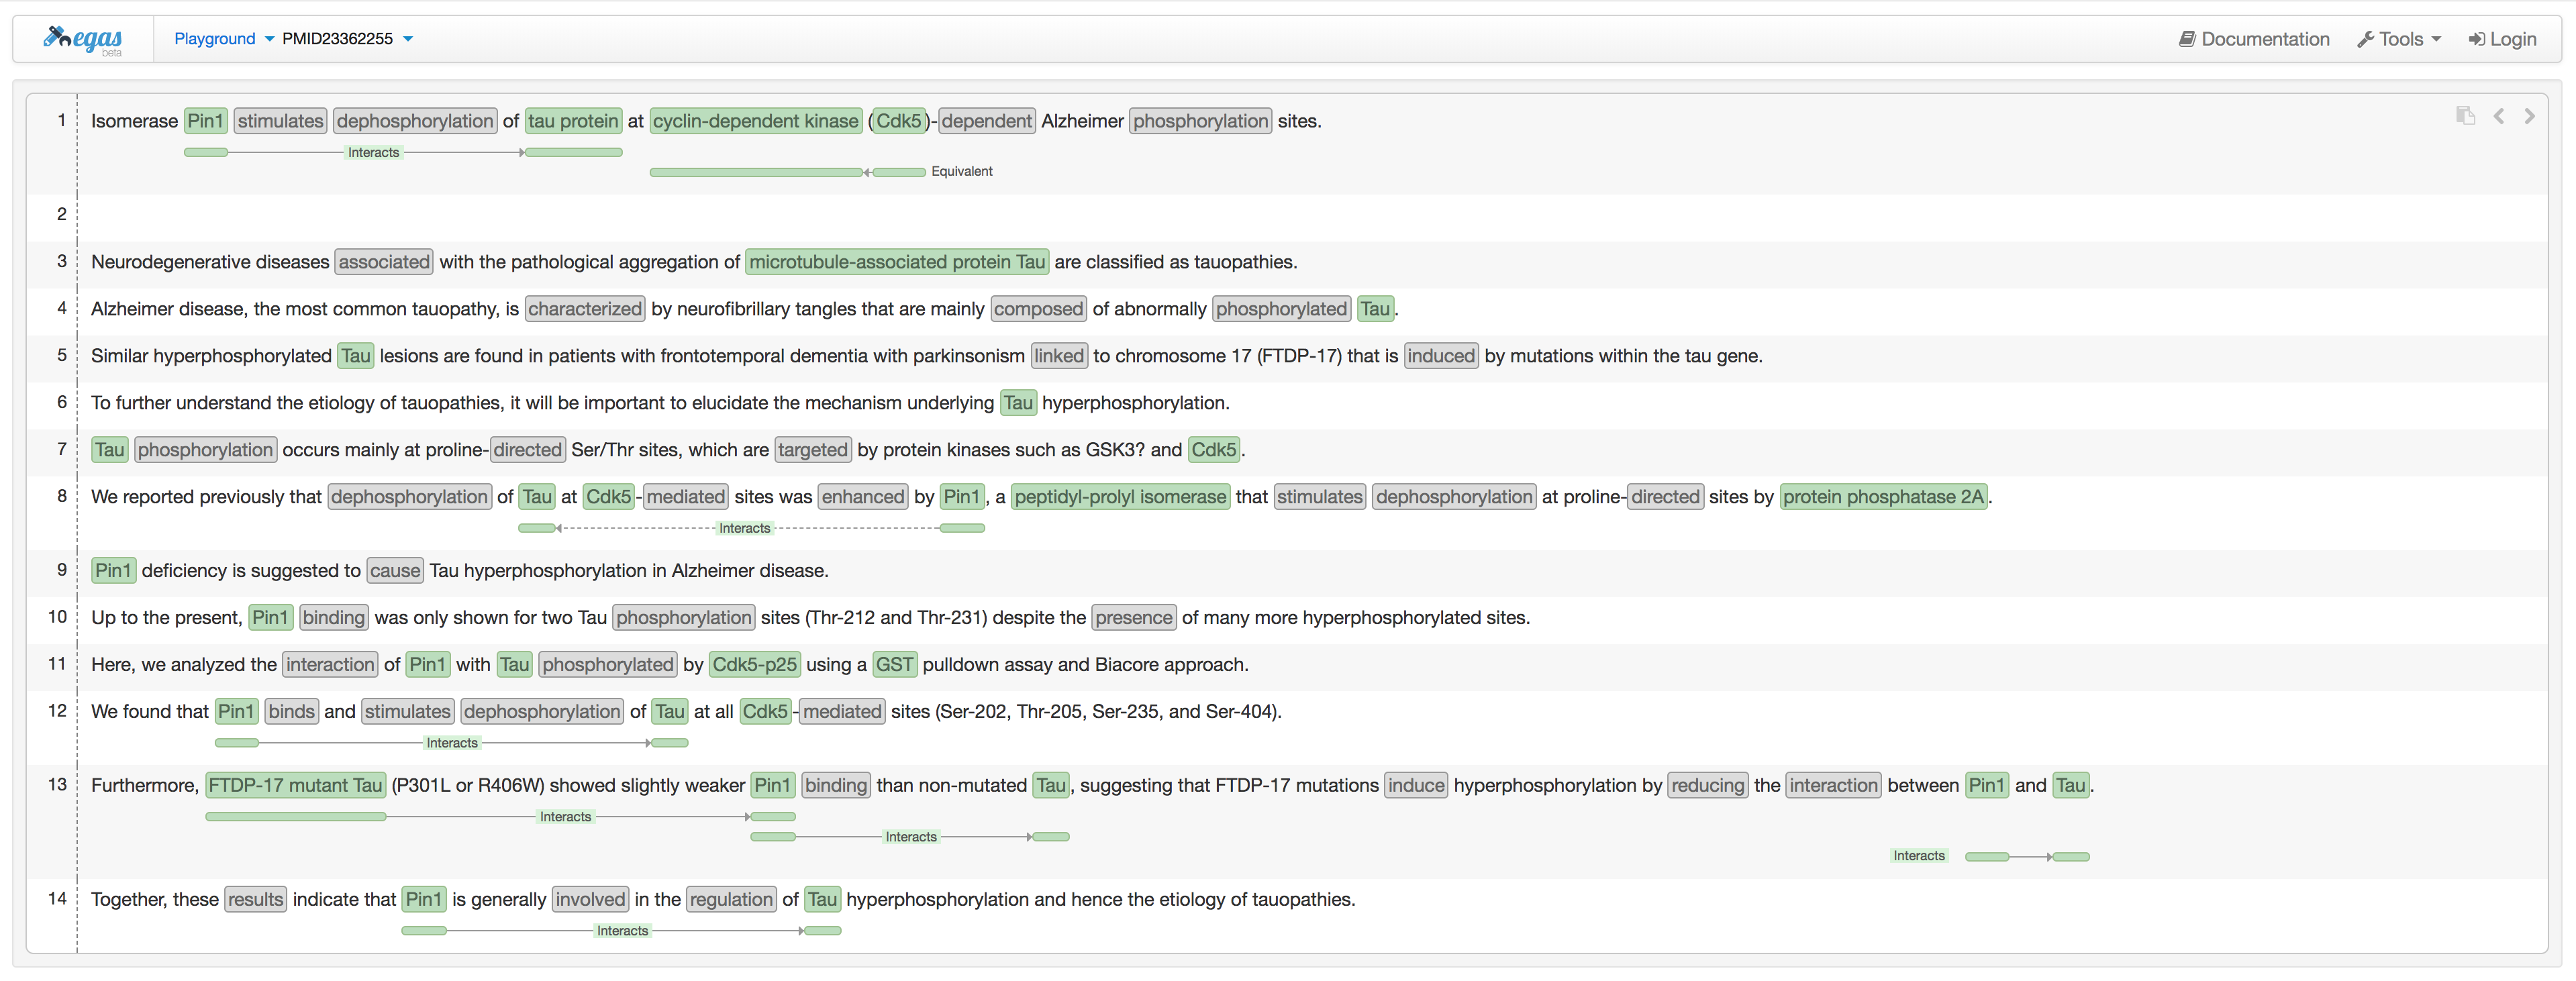
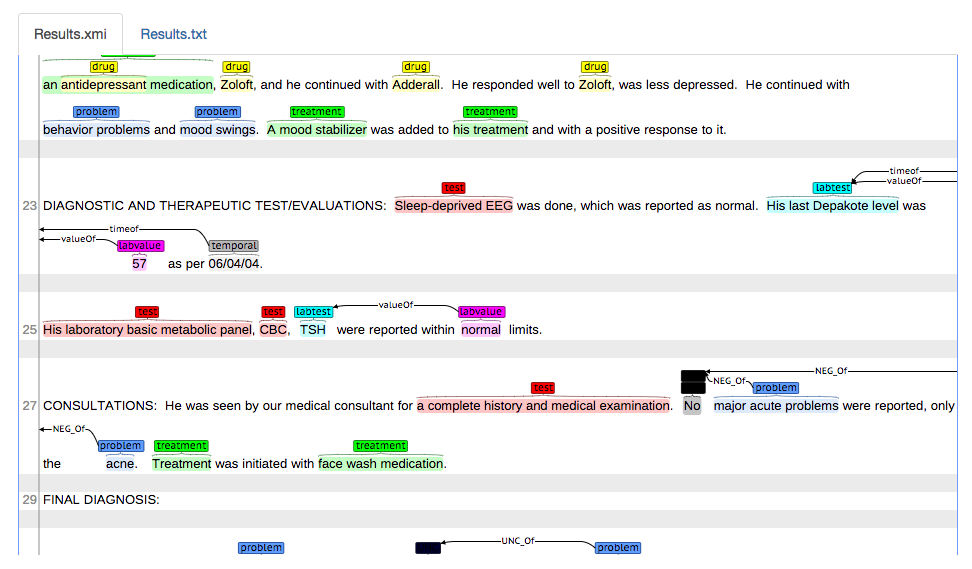
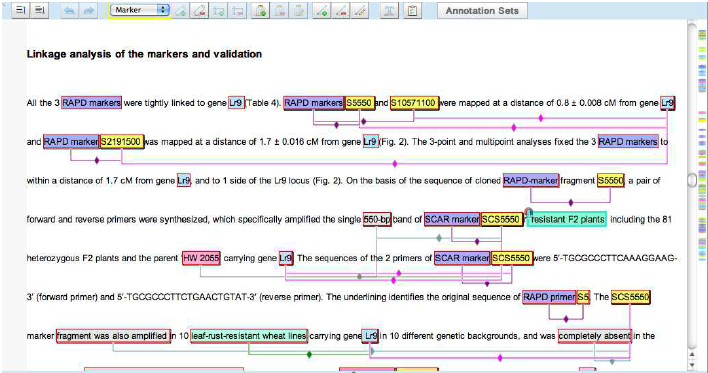
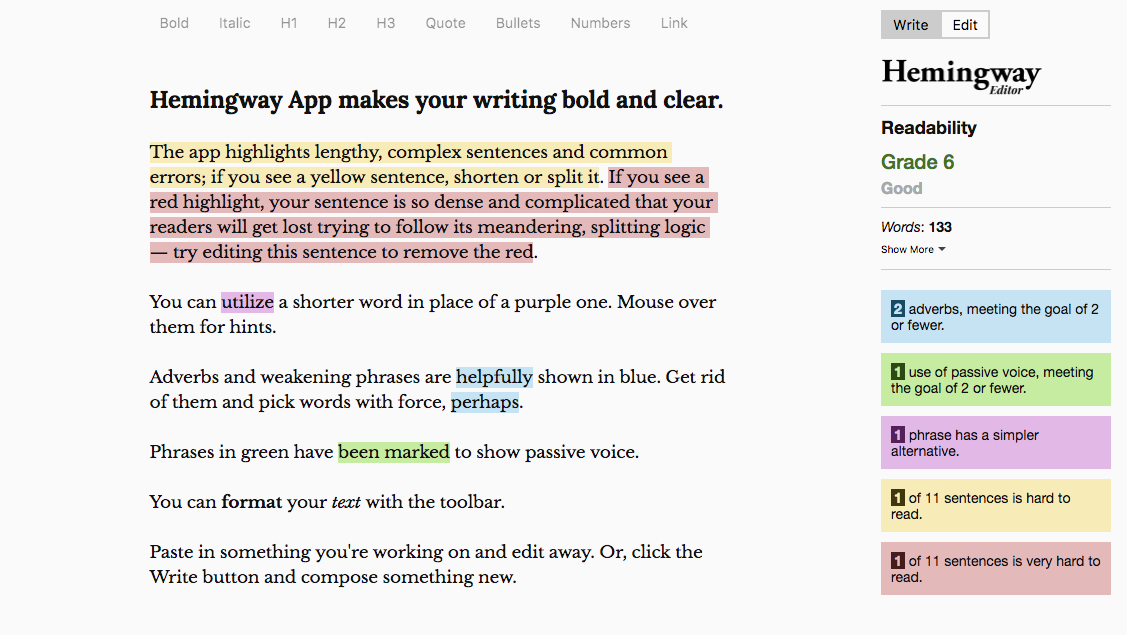
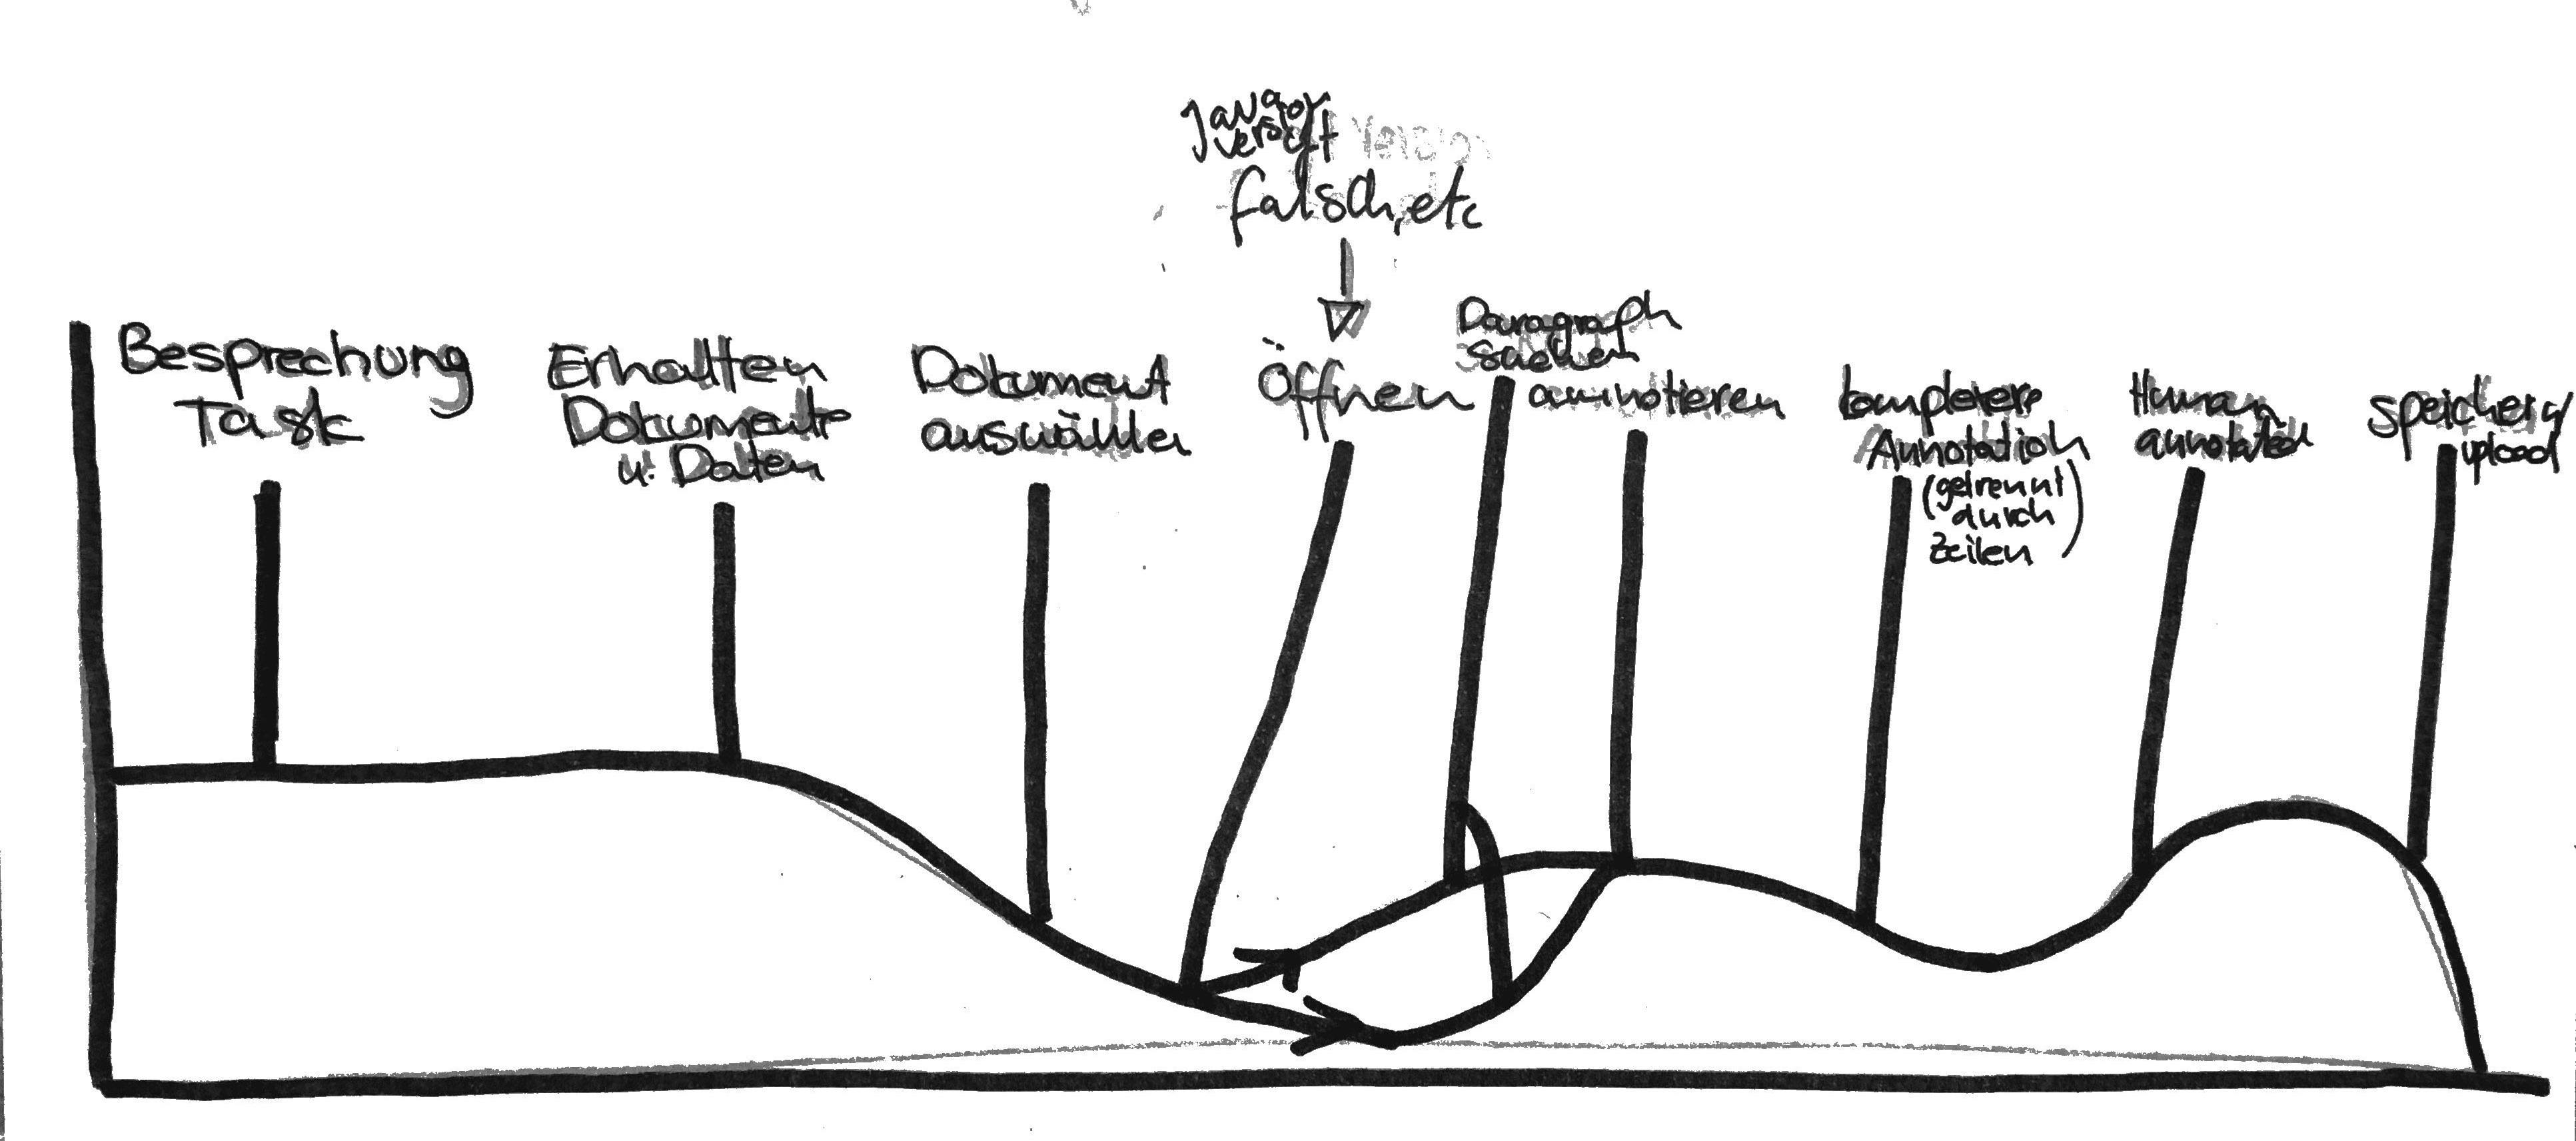
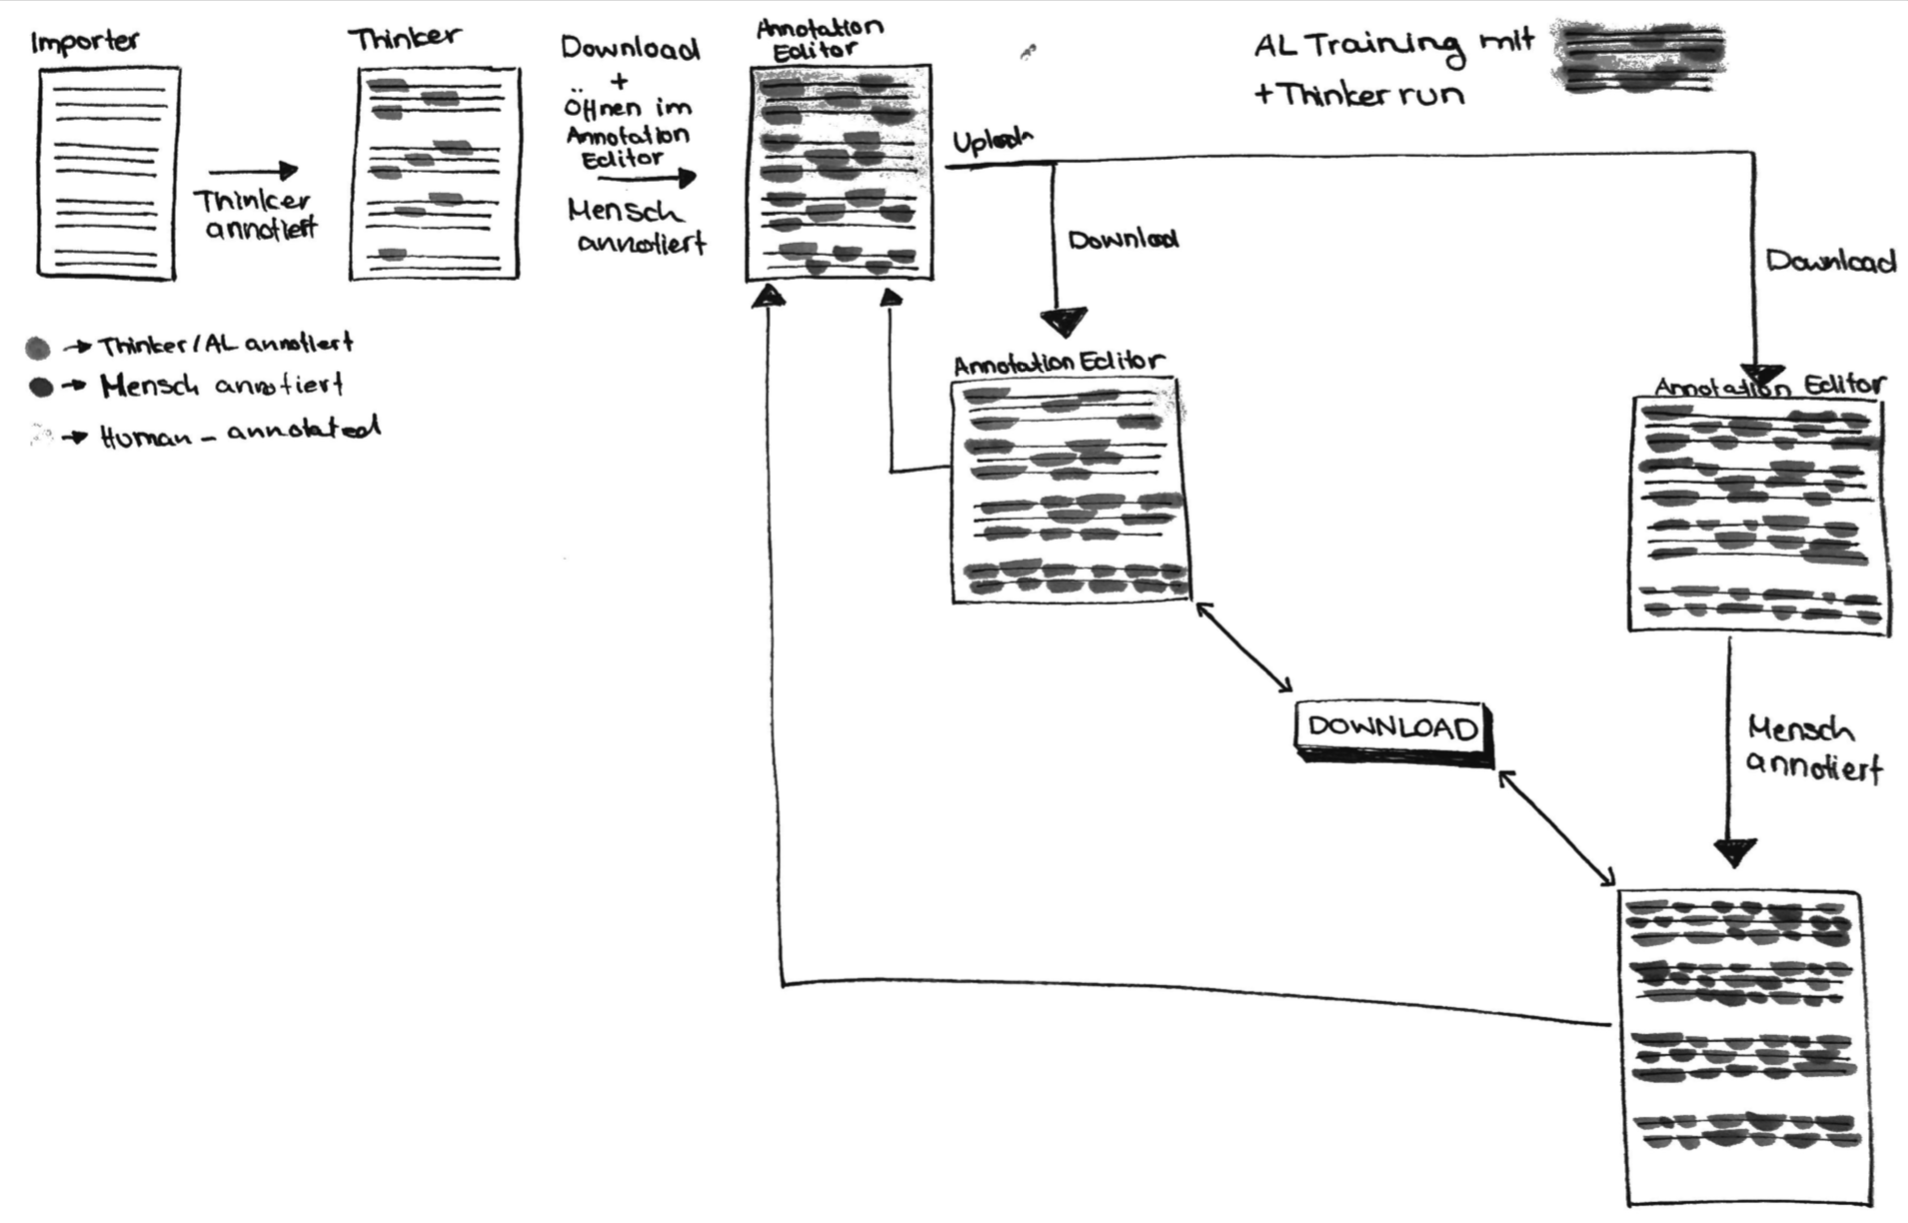
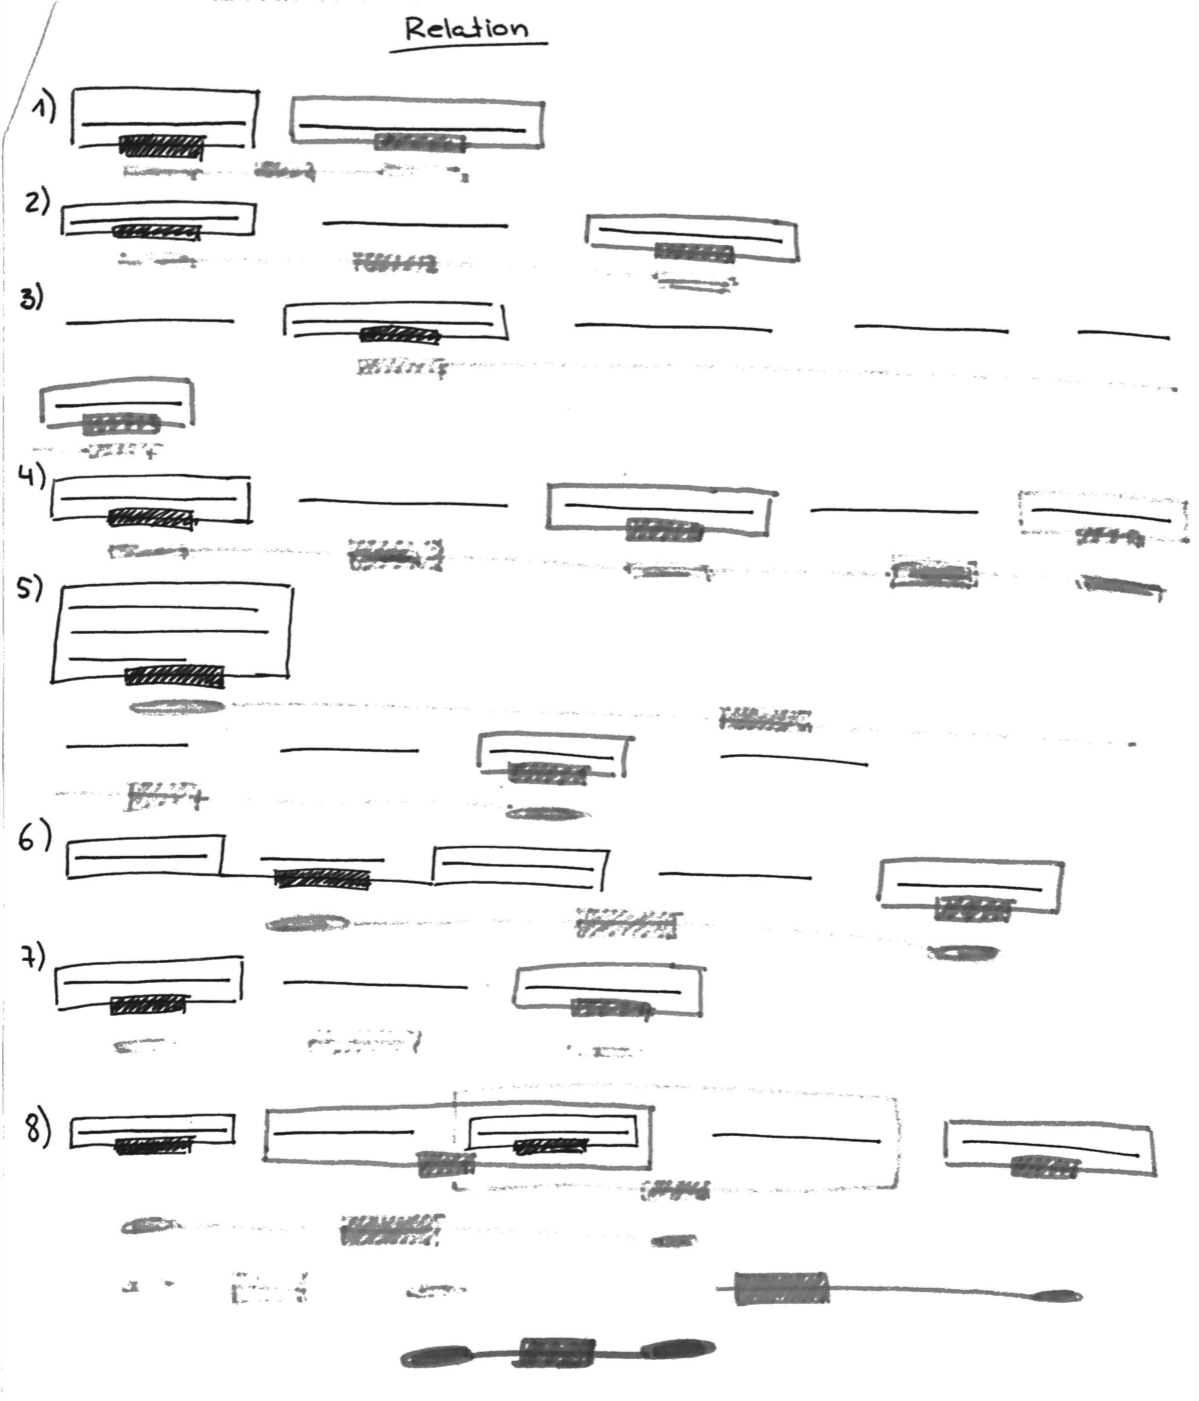
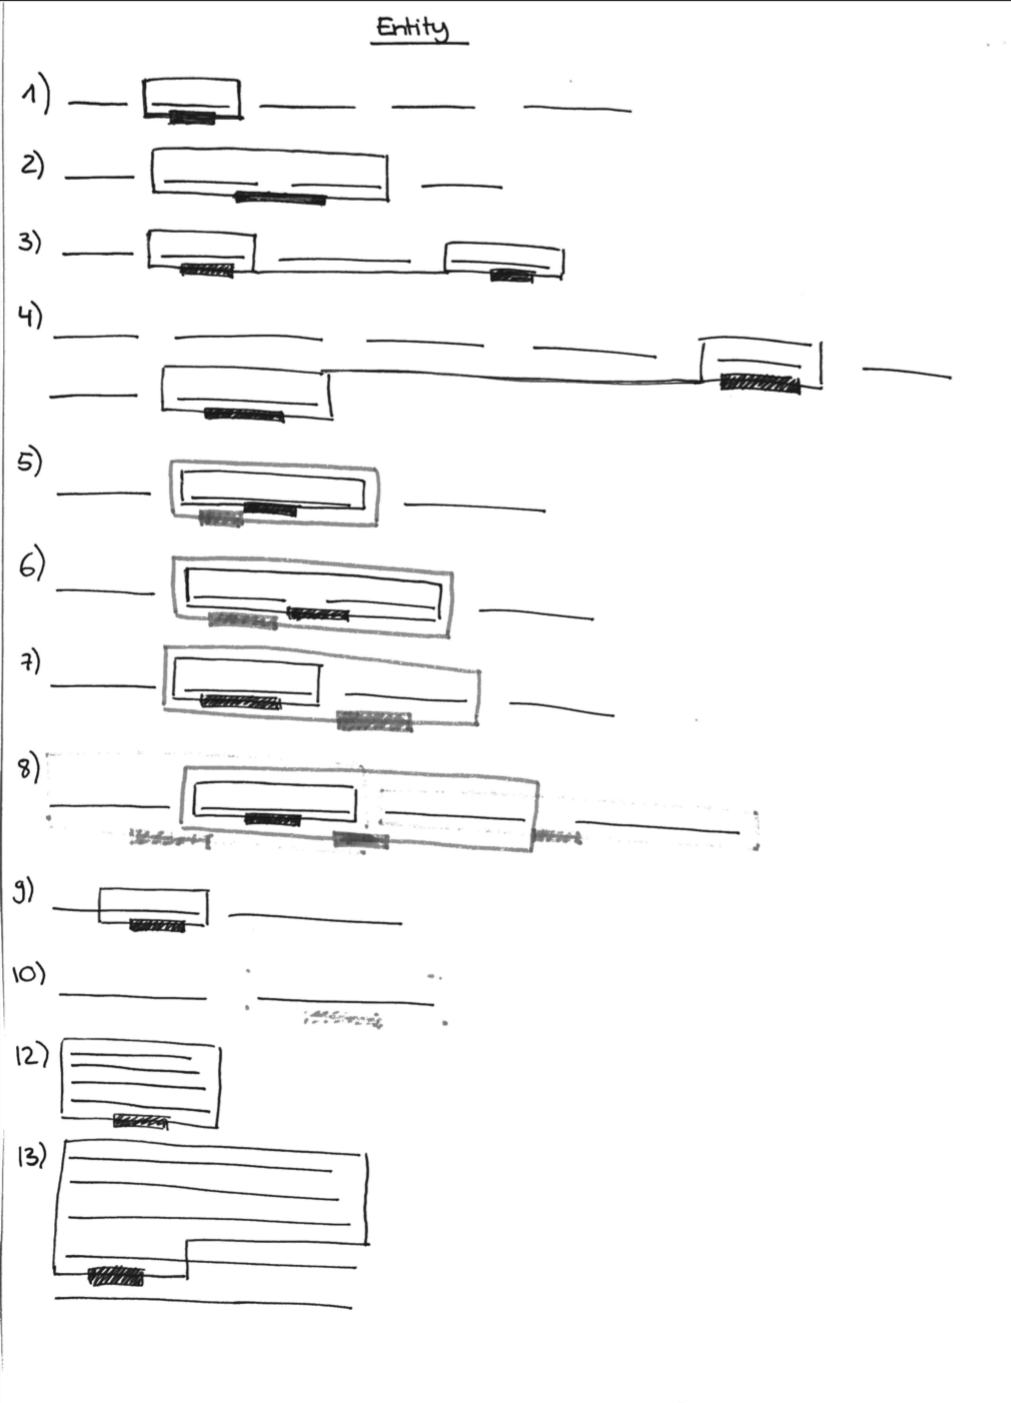
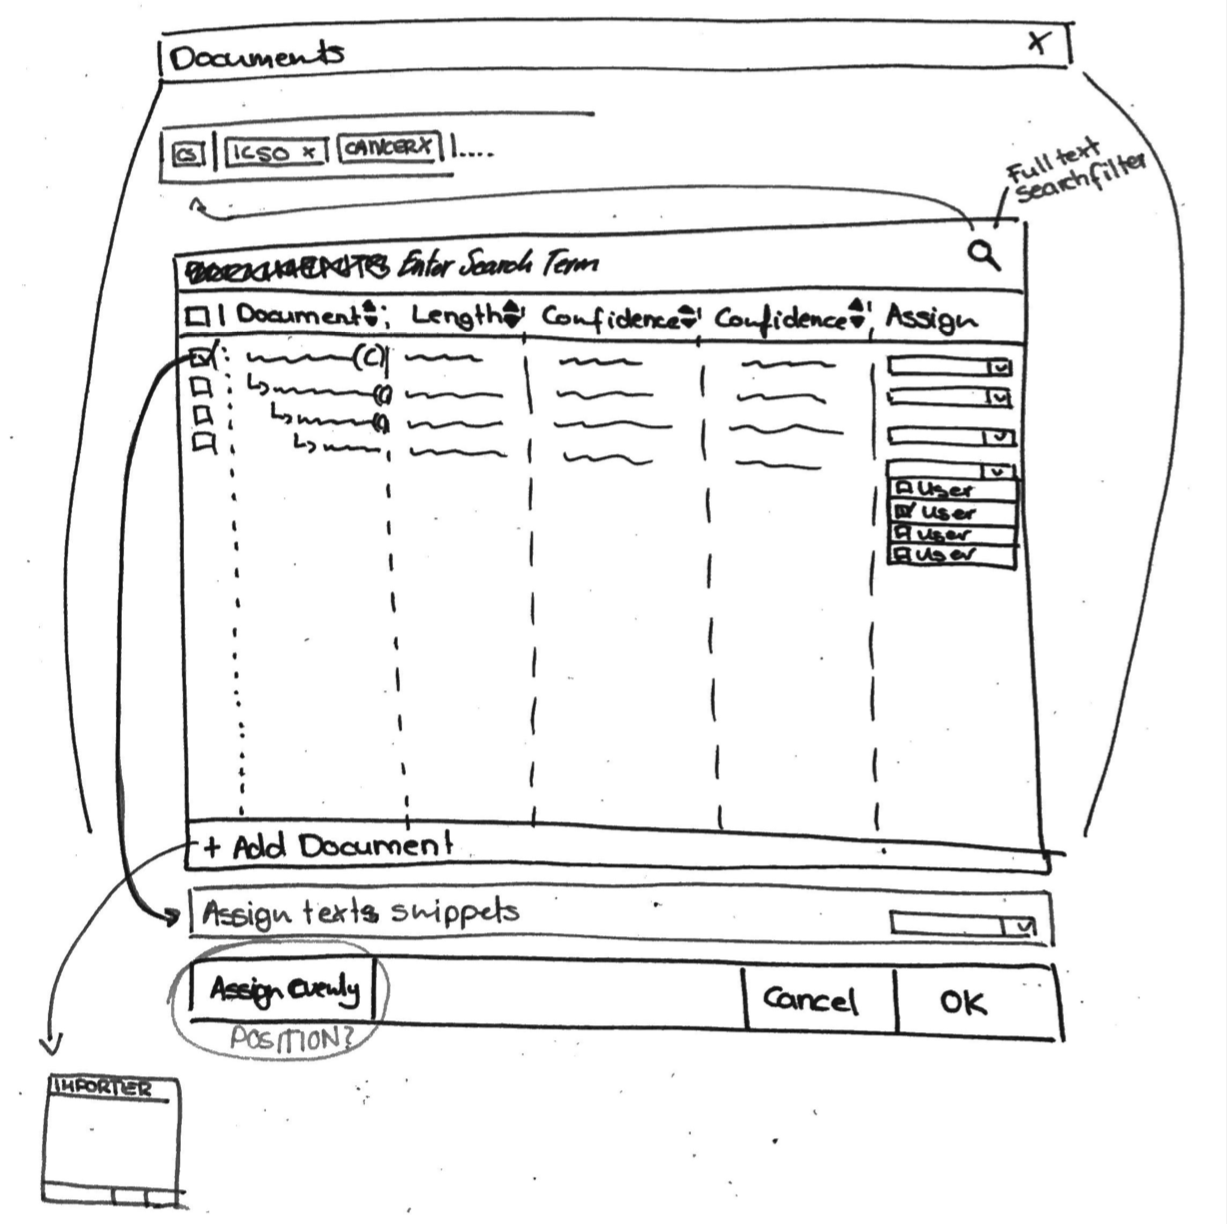
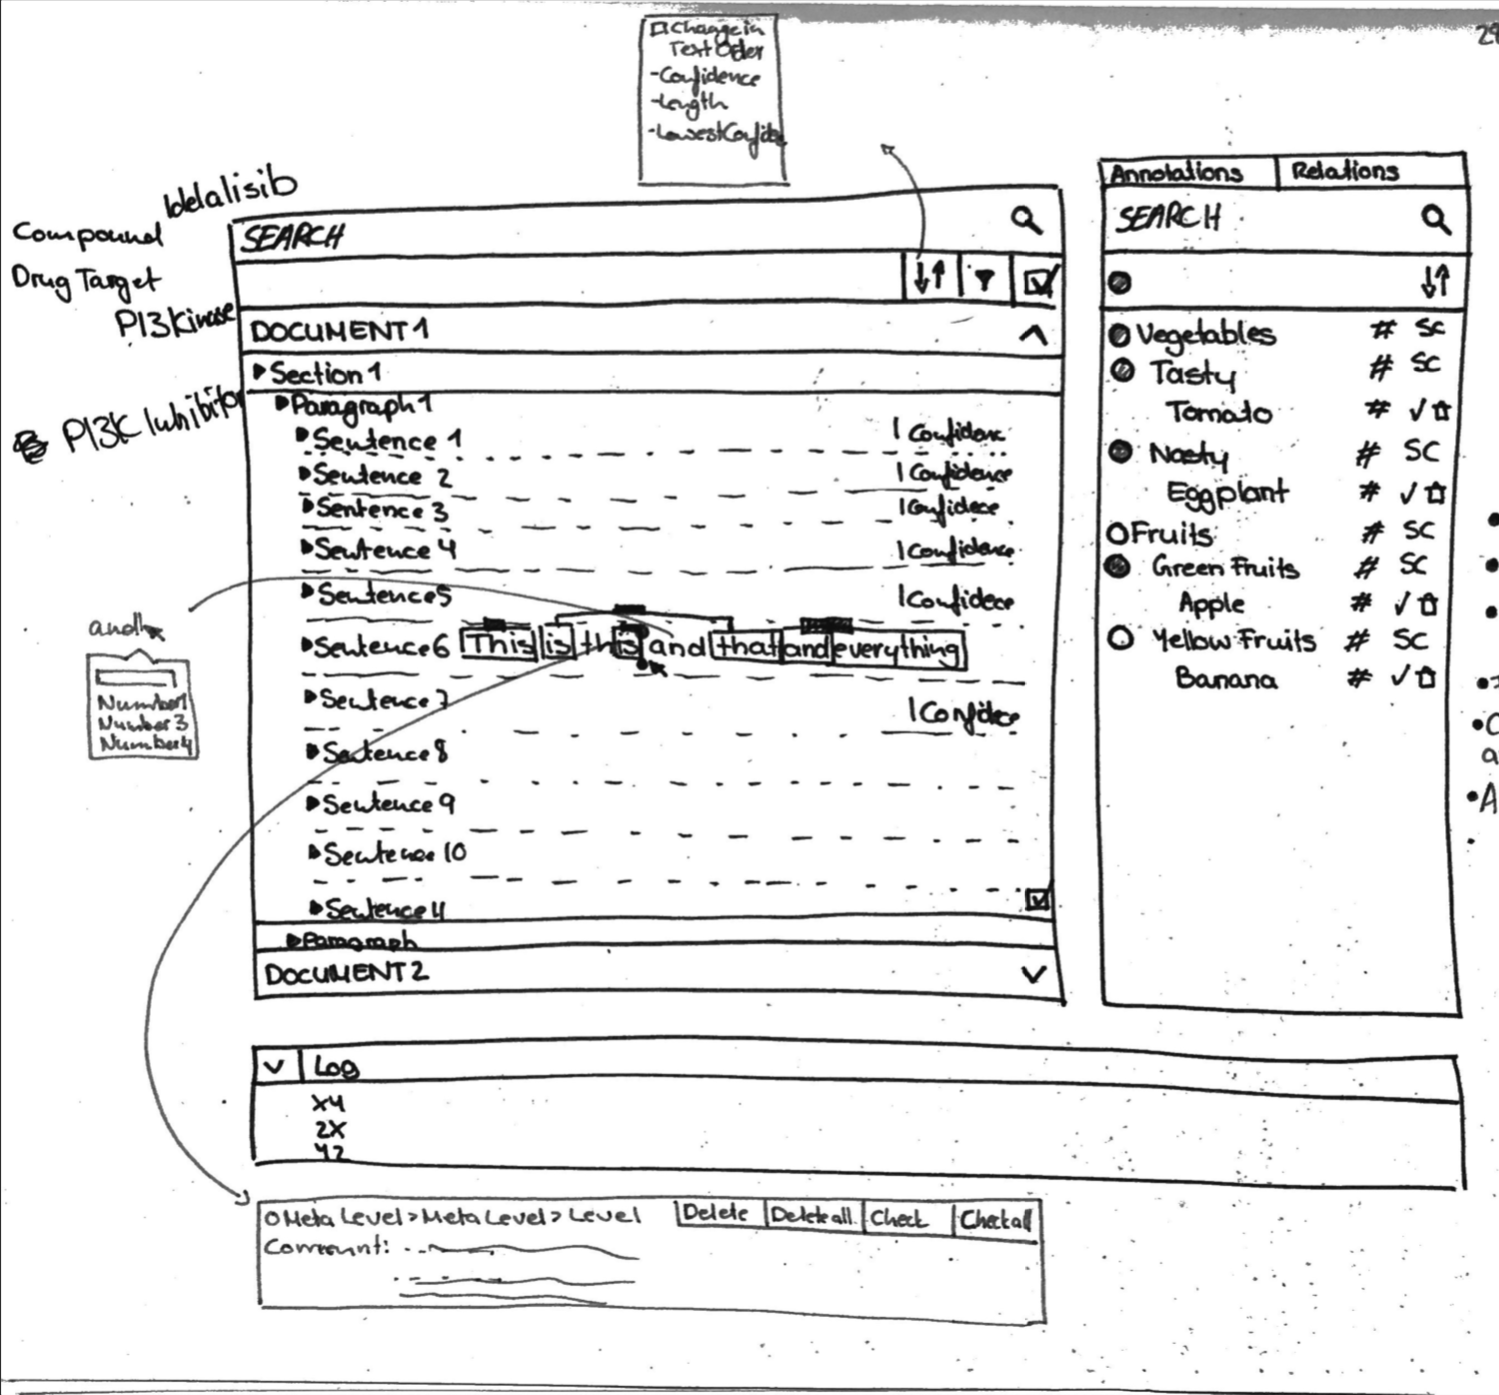
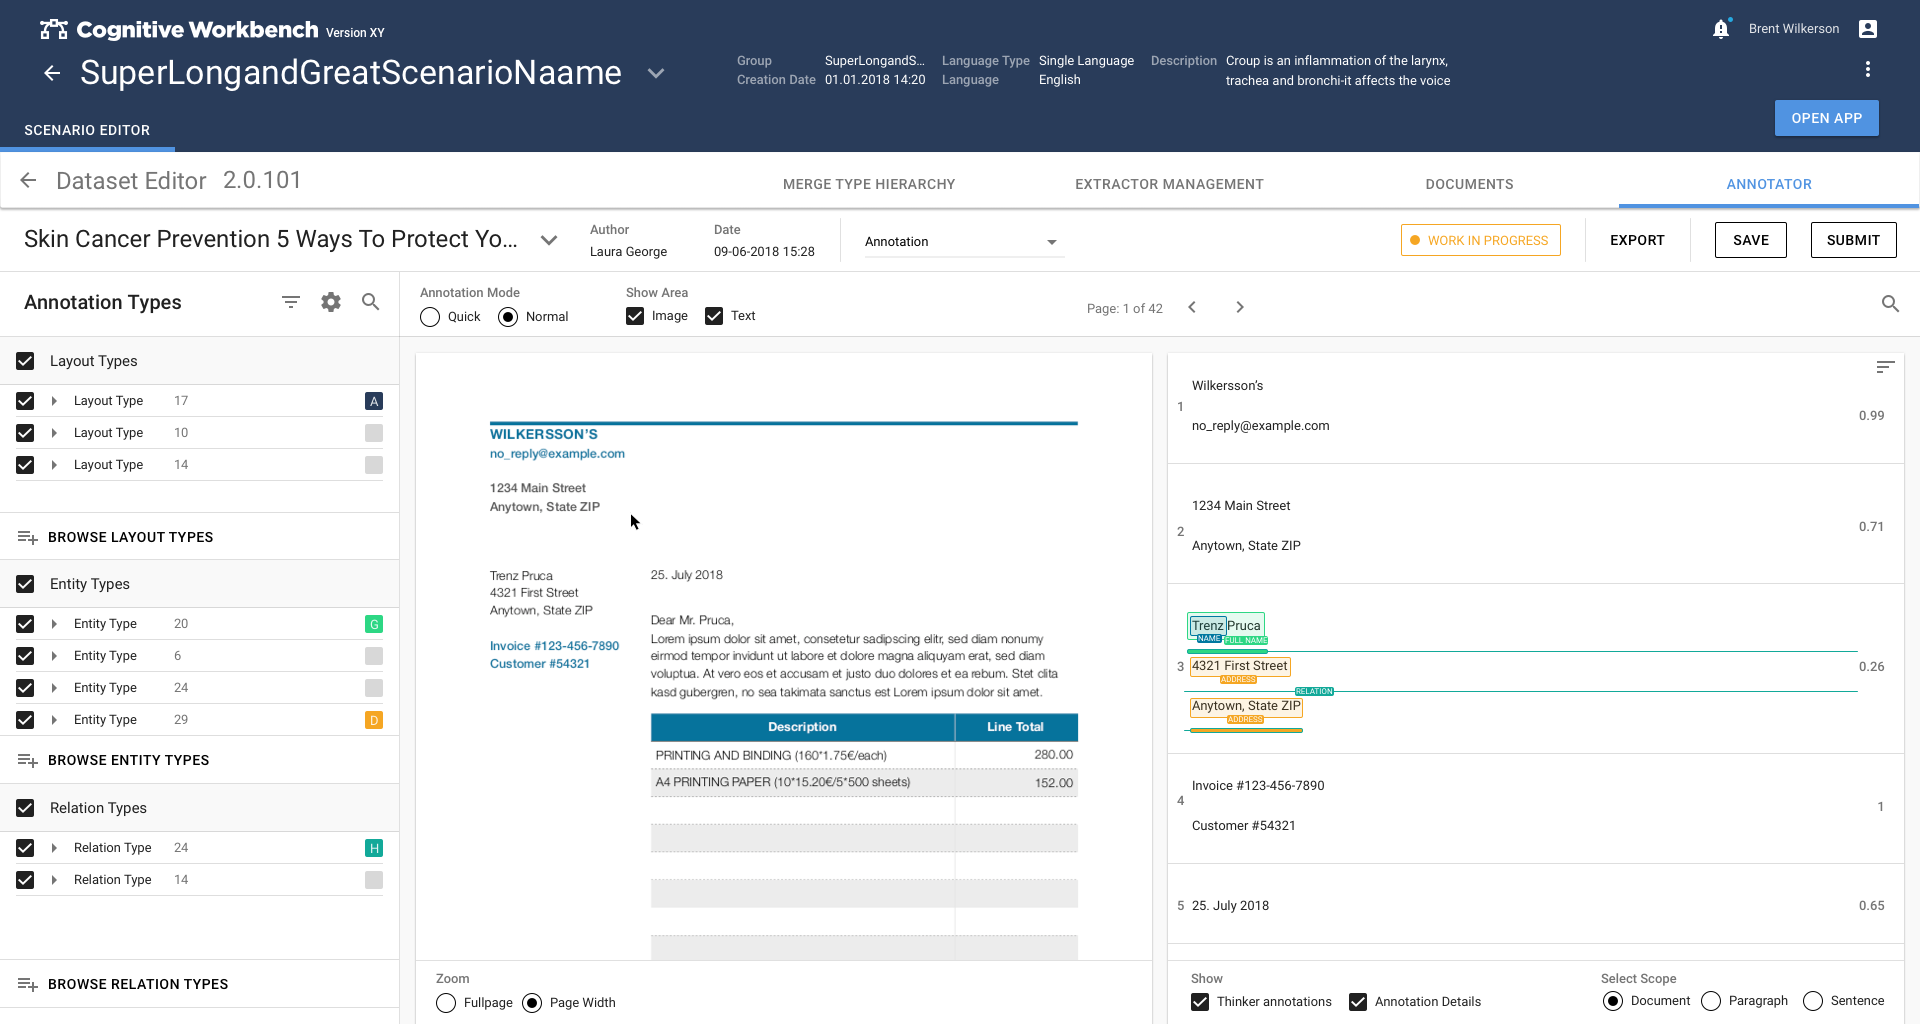
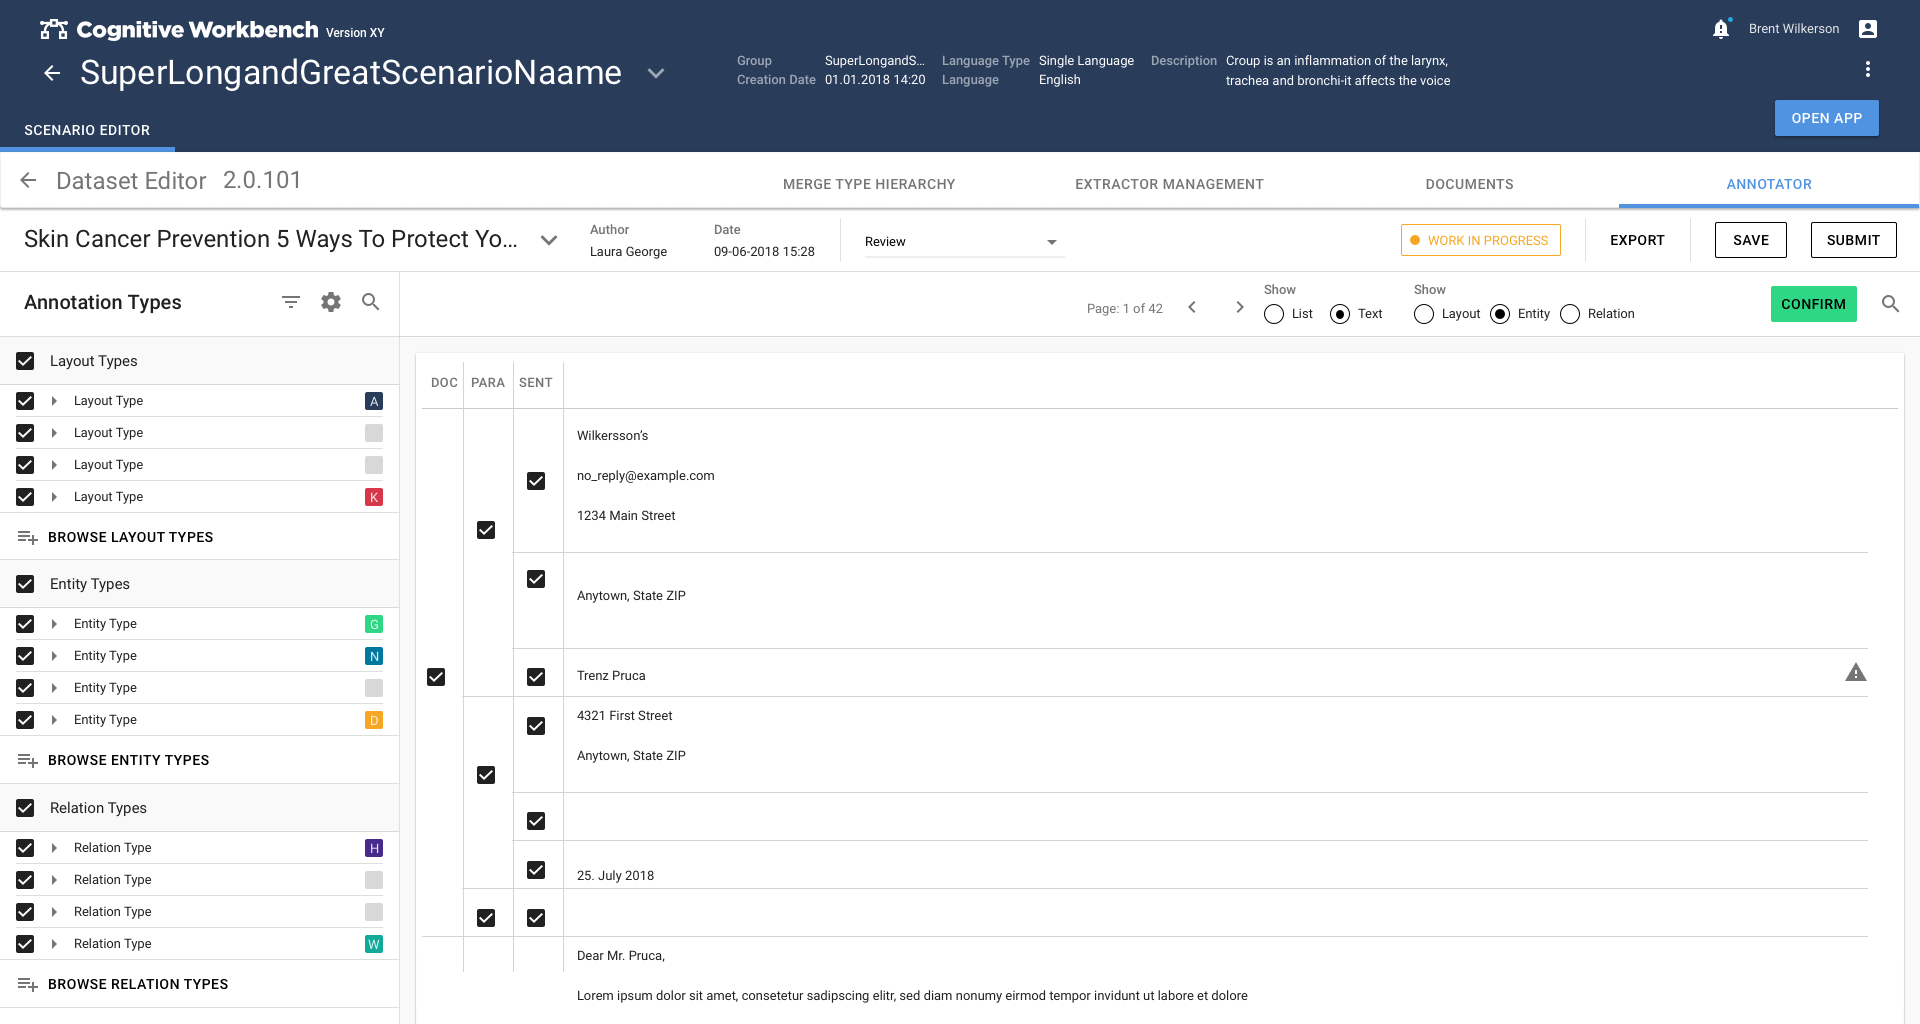
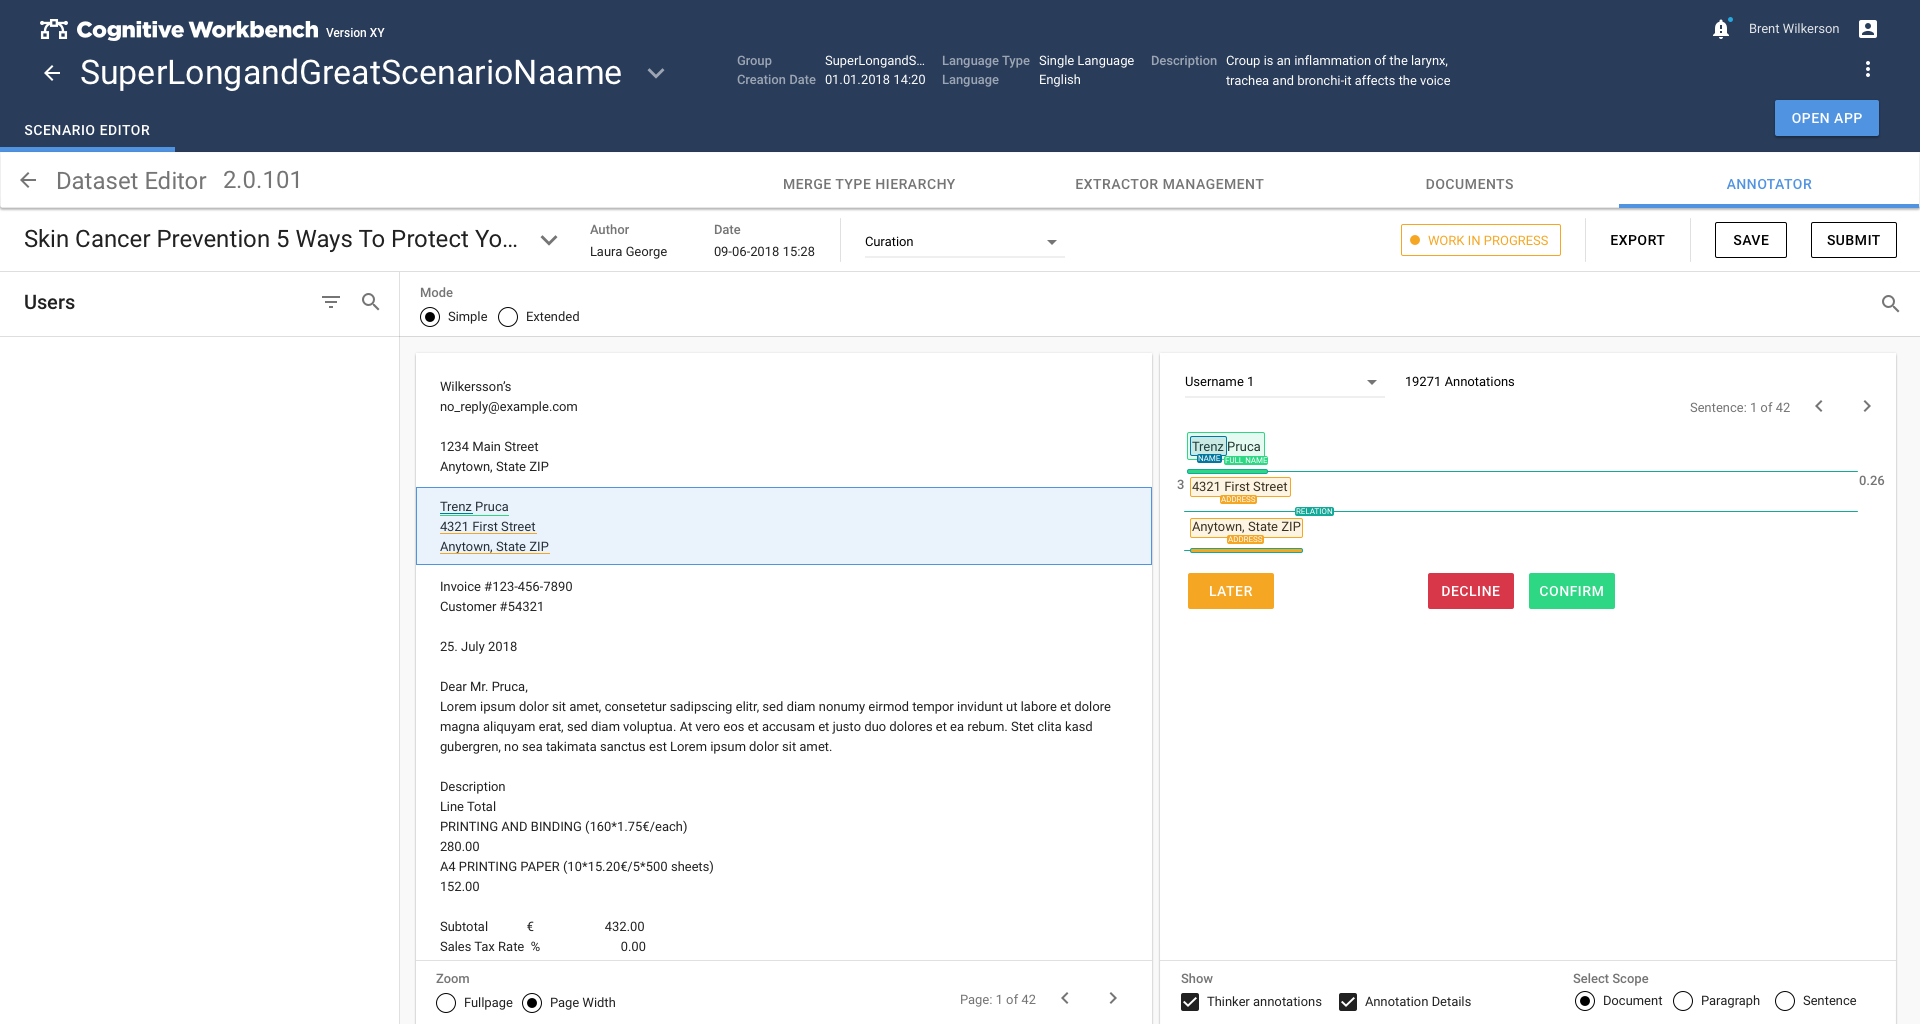
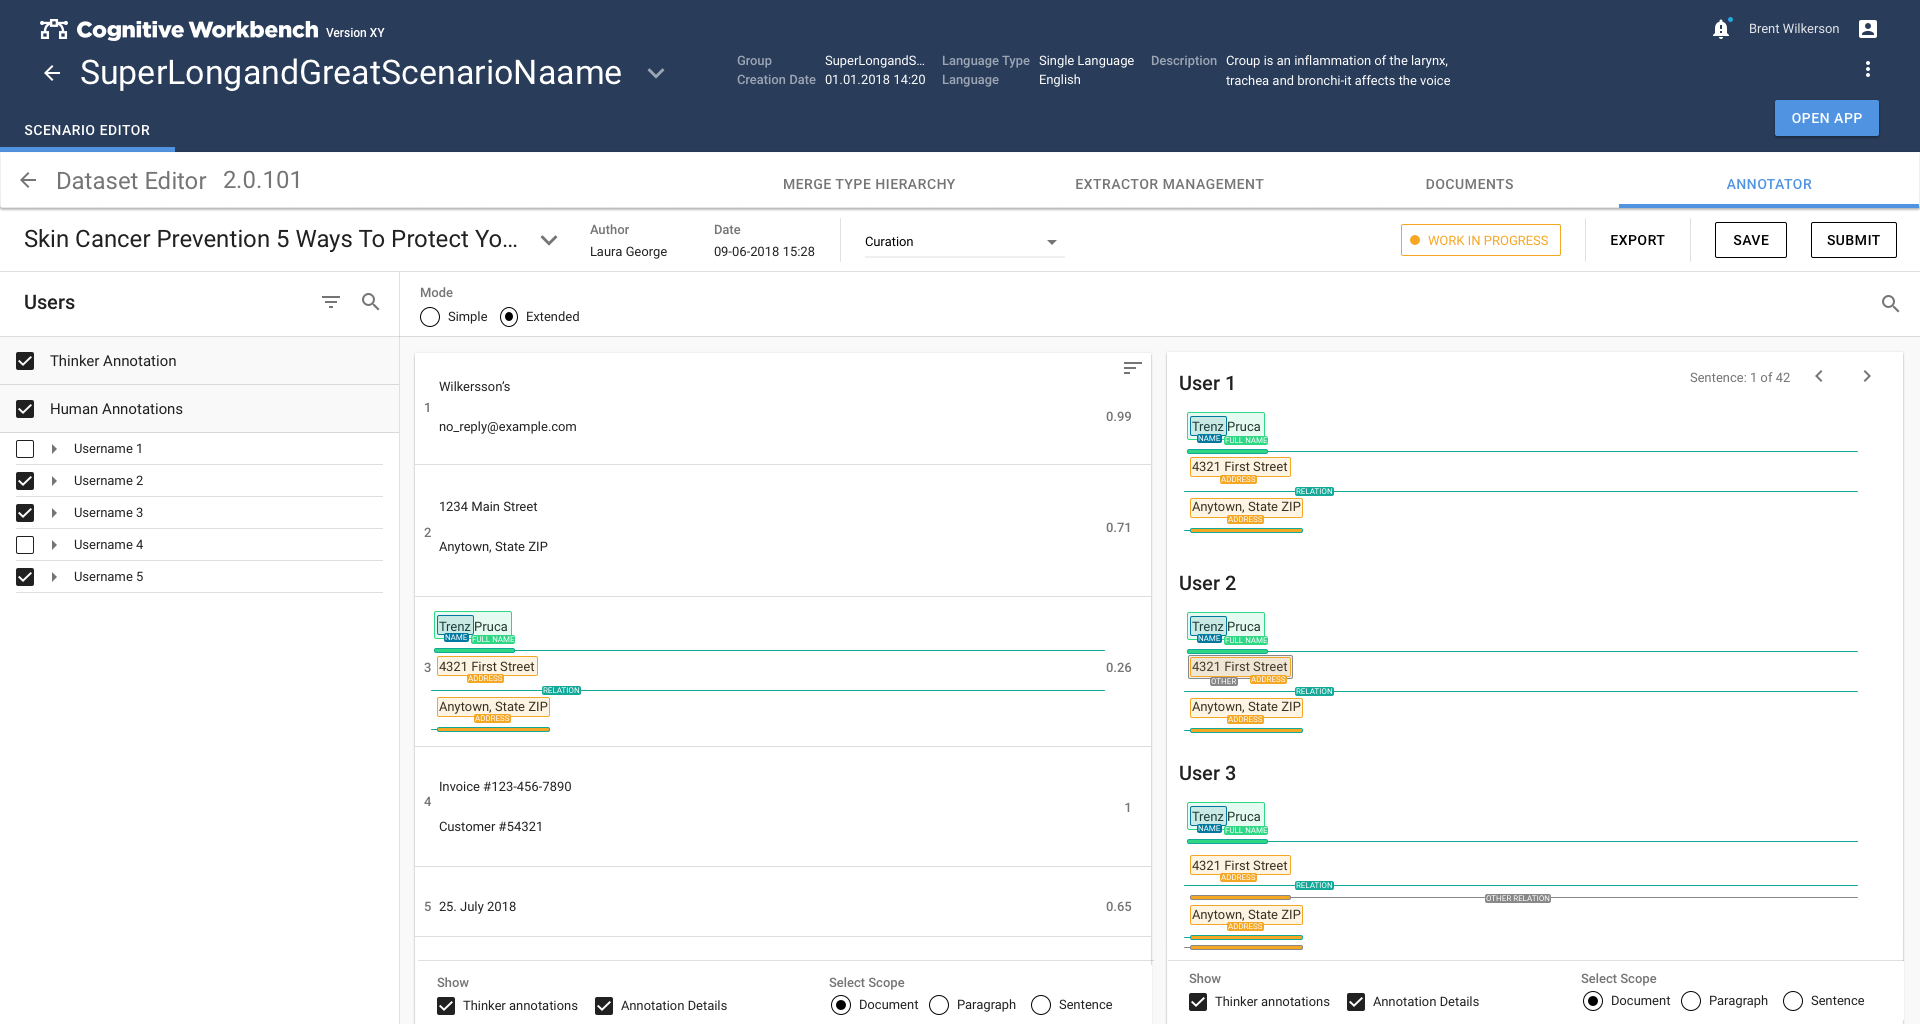
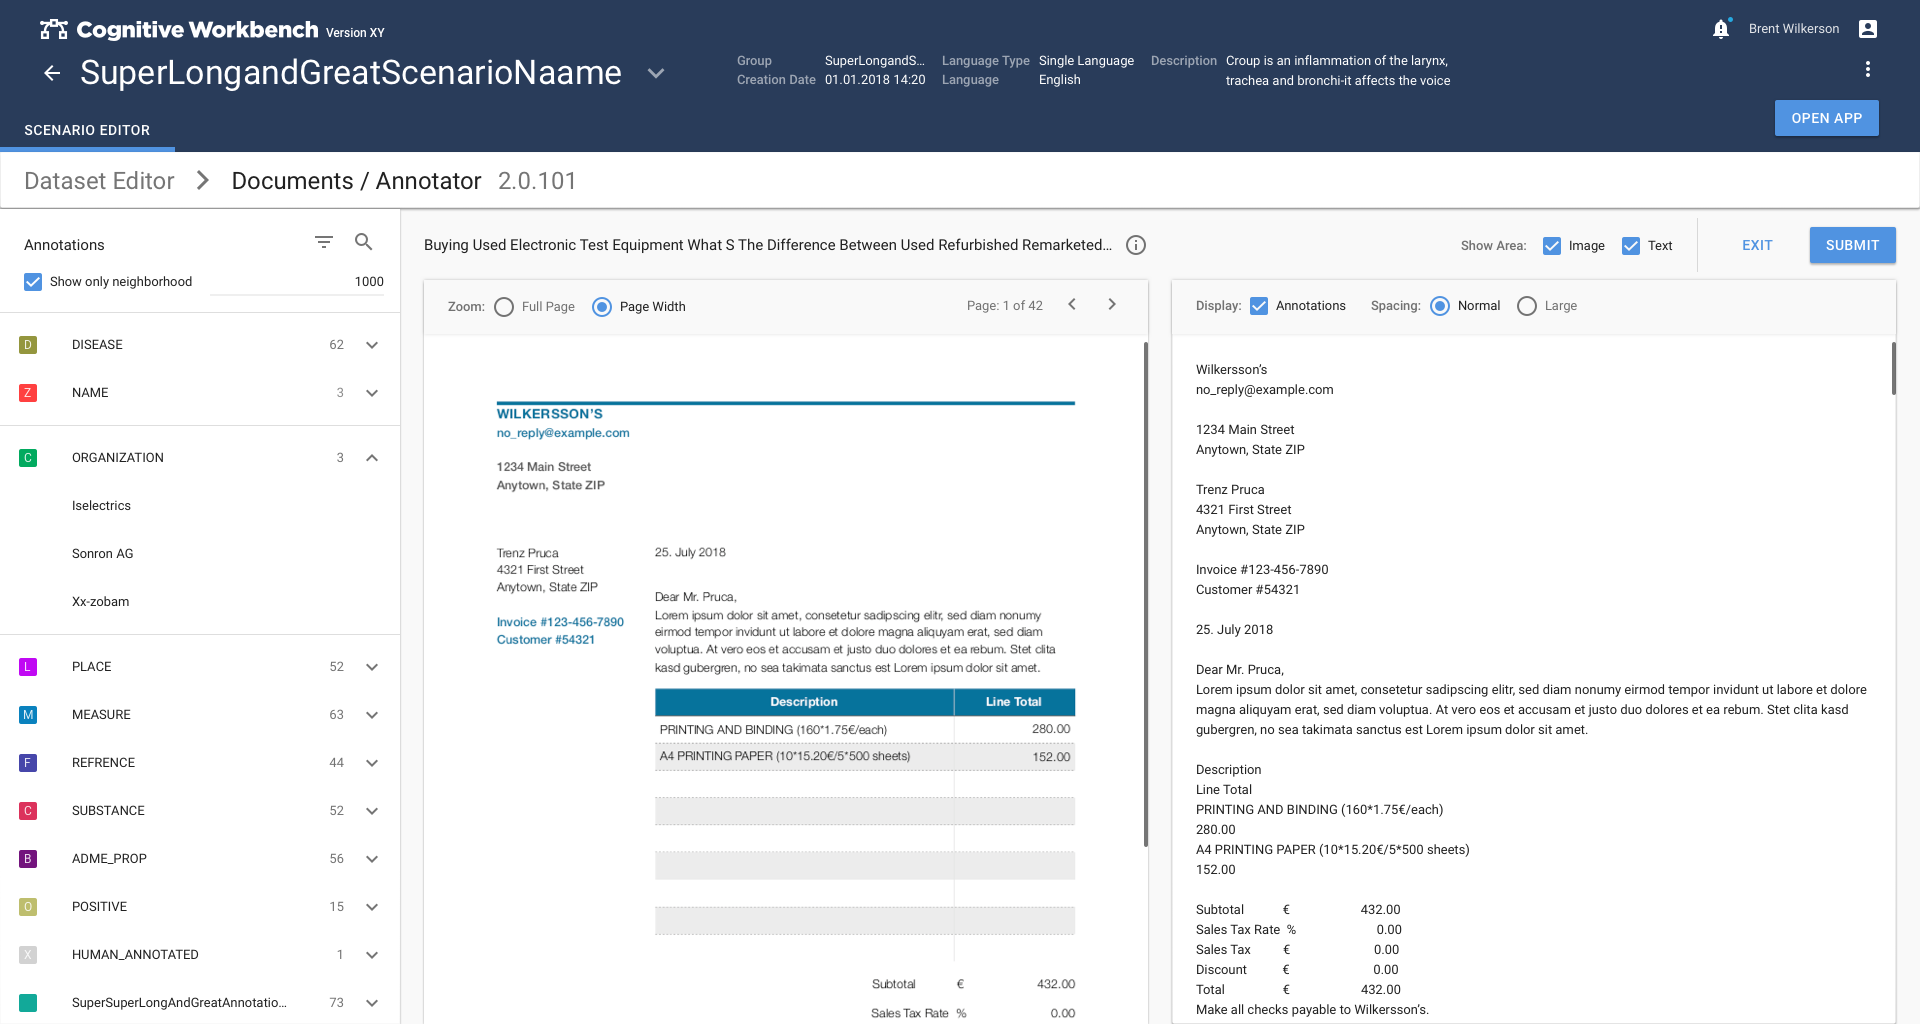
In the initial phase of a project, I am faster if I put my thoughts on paper. The sketches served as a basis for brief feedback from the users, so I could build the following screen prototypes in Sketch.
With the integration into the CWB, the design guidelines were set, so the primary focus was on improved workflows.
Selection of documents
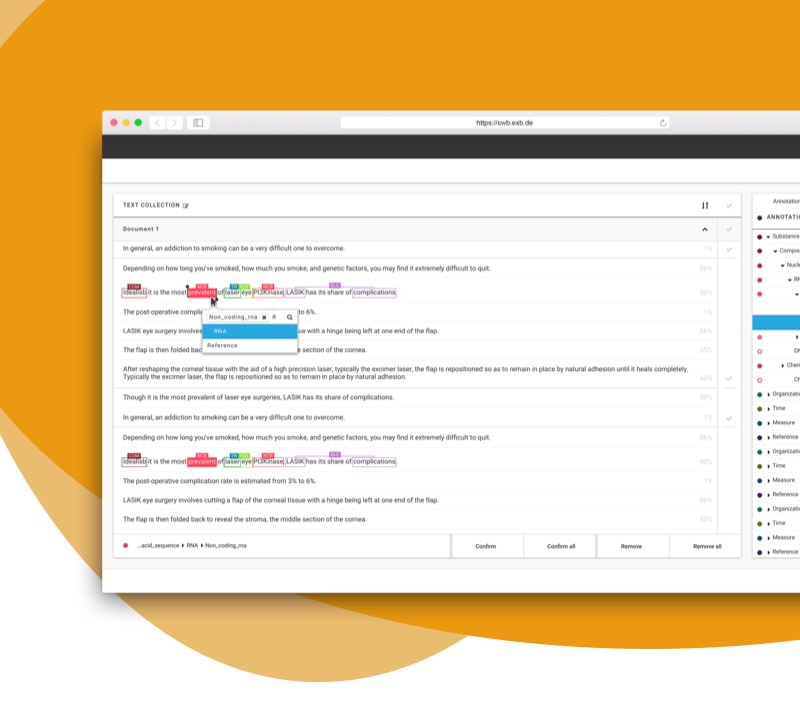
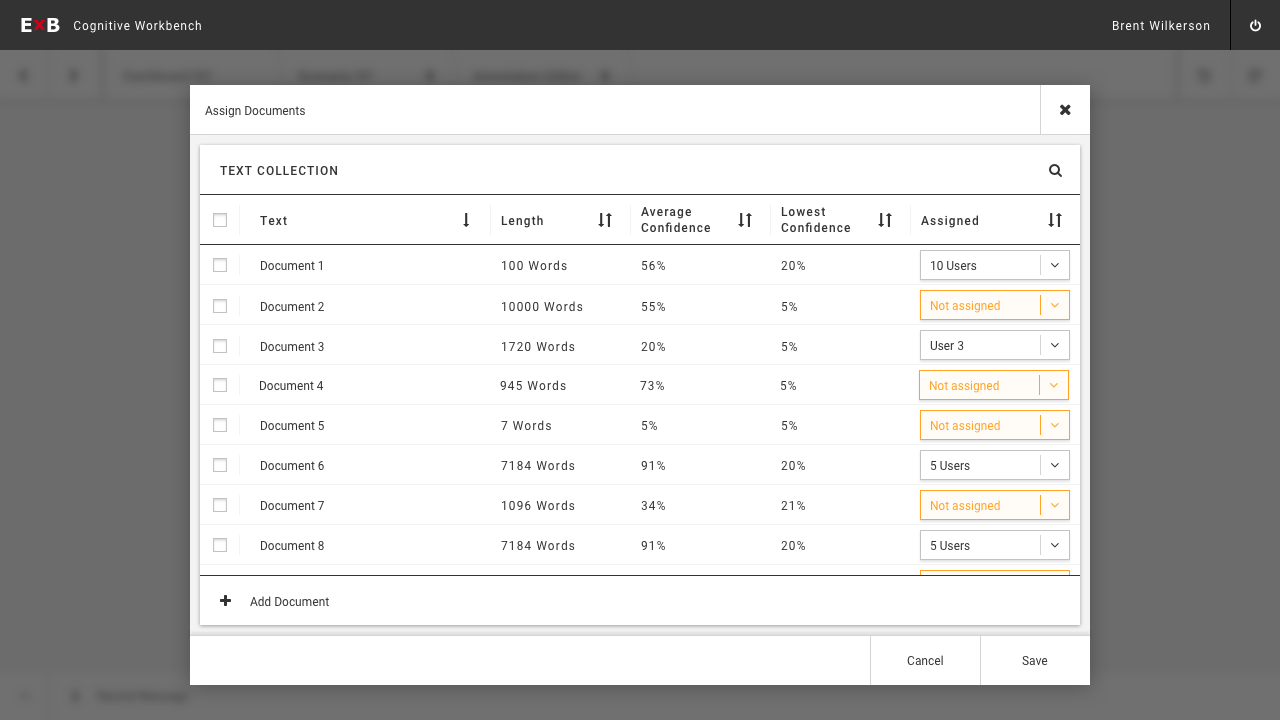
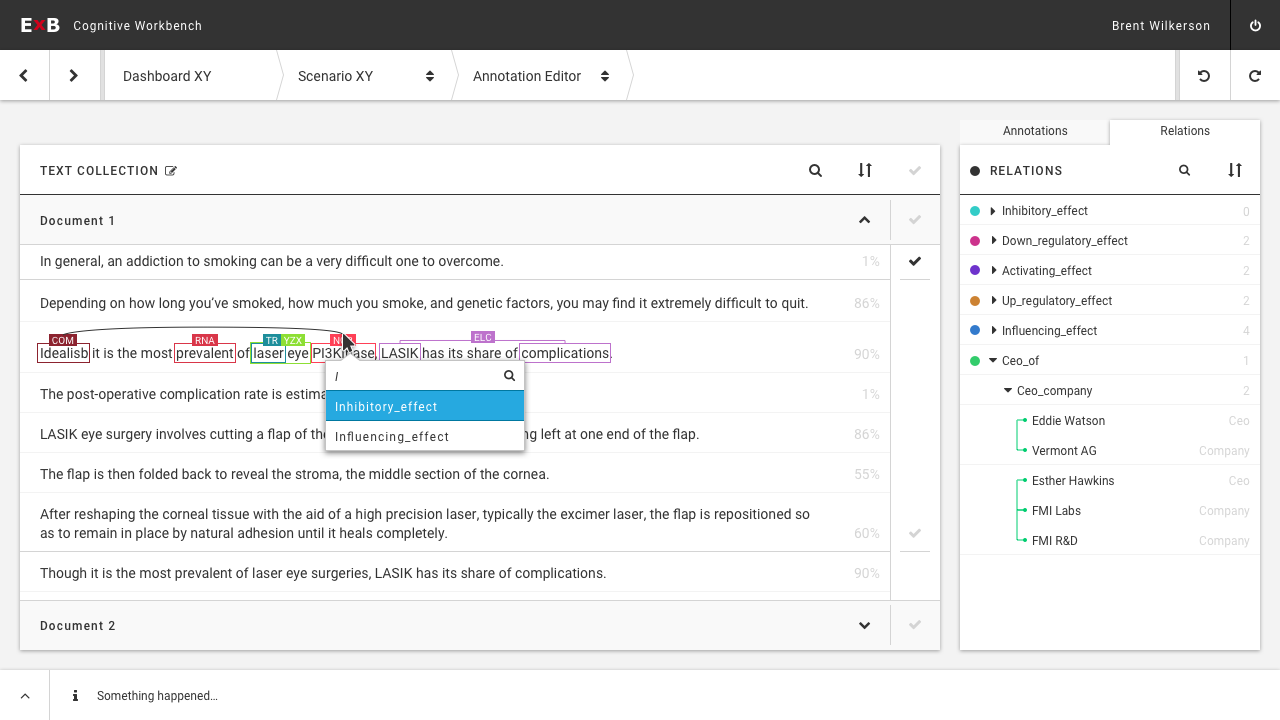
In the configuration menu, the project manager can assign texts to Data Curators and see their current progress. The menu is opened when the user invokes the Annotation Editor for the first time or when new texts have been added.
The Data Curators cannot see the assignment option. Instead, they only see what has been assigned to them. The "Add Document" button can be used to add more documents.
The screen is divided into the following sections:
- Search filter option
- Column header bar with sorting option
- Text collection in form of a list of documents
- Bottom action bar
Default Annotation View
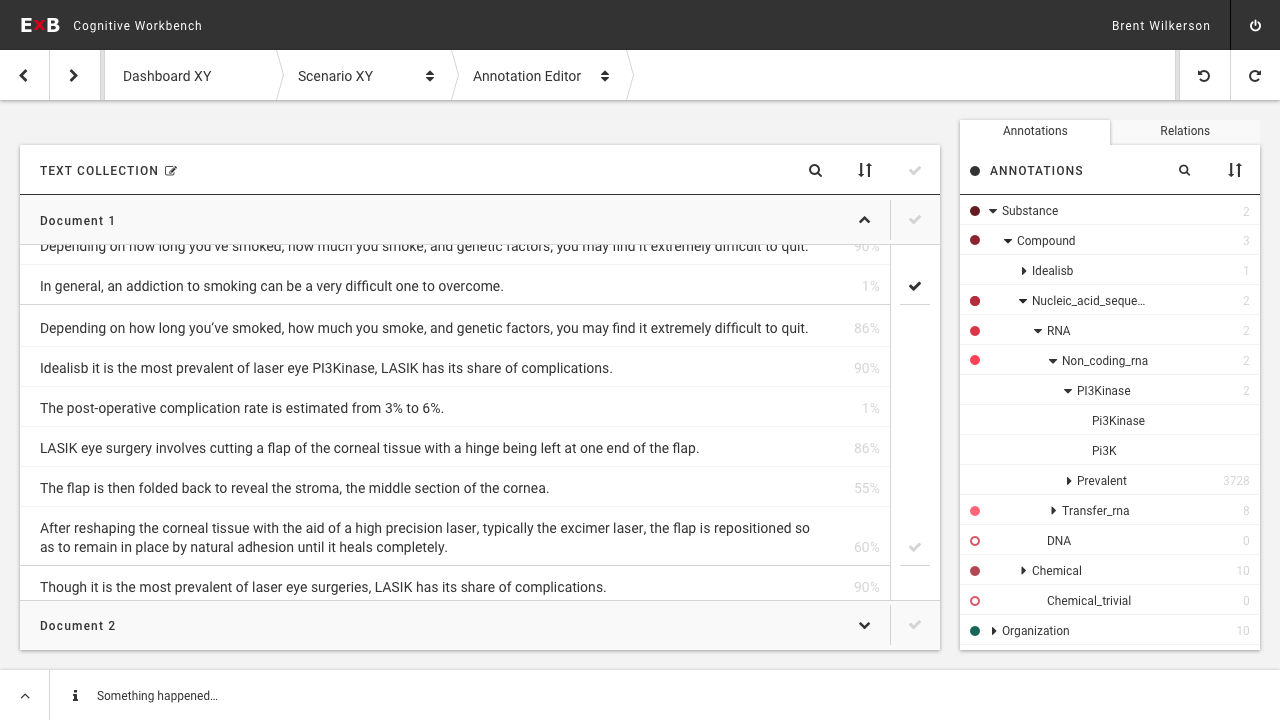
Text View
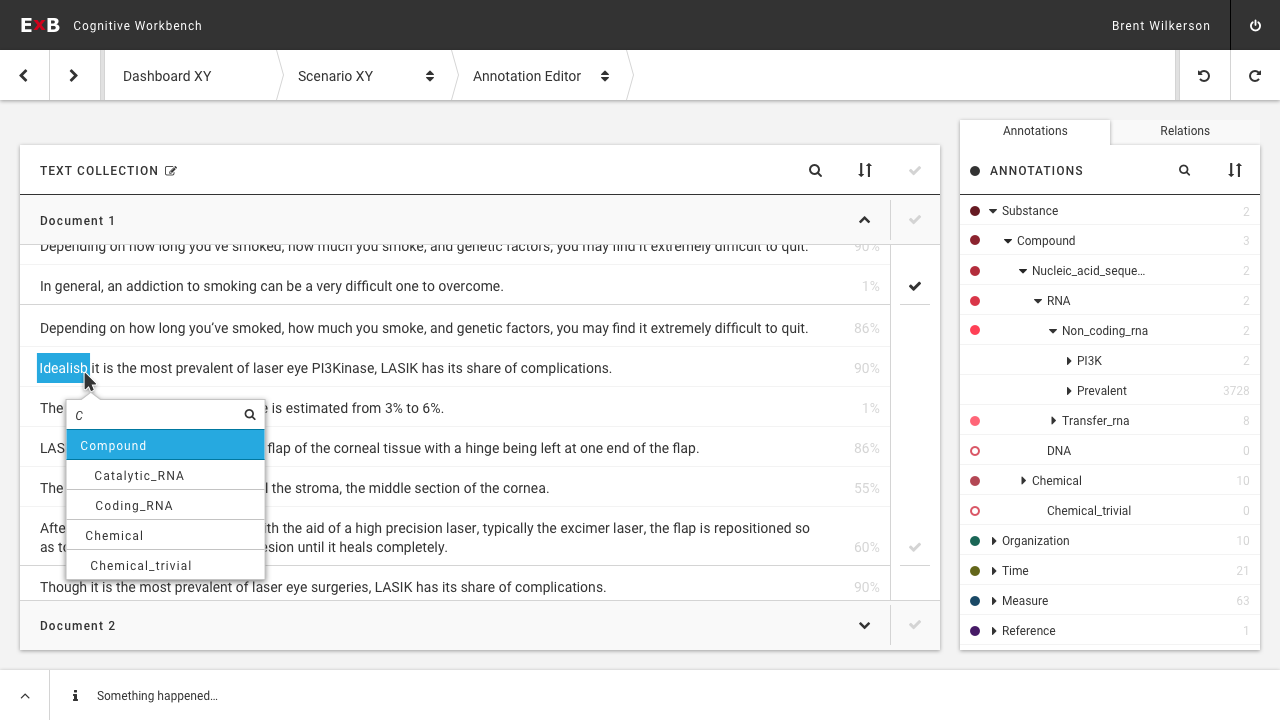
The text is split up into sentences in their right context by default. The document title is shown as a sticky header so this context information is always present.
Each sentence shows a confidence rating that has been created when the text got already pre-annotated by a machine. The confidence score informs the Data Curators about how sure the machine is about its own annotations.
The very right column within the text view shows check marks for already completed sentences. These are being checked automatically if a sentence is fully annotated. The checkmarks can also be manually set by the Data Curators and give them an overview of what they have already done. In addition, this setting provides information about what the machine will later use to train individual the recognizers used as annotation types.
The Annotation List
The annotation list features a search filter and sorting options.
The list below contains a staggered list of annotation types, which can be collapsed and expanded at different levels. The deepest level are the annotation instances grouped together.
Each level indicates how many child elements it contains through a number on the right side. Furthermore all annotations are automatically color-coded, so that annotations of different affiliation in the text can be better distinguished from each other.
Annotating Text
Selecting text to annotate can work in various ways::
- Single click on a word: The whole word is selected
- Click + drag the mouse cursor: The letters are selected individually for the distance the user chooses
- Ctrl + click on individual words: Selects multiple words which may also be separated by other (not selected) words
- Shift + click on two words, stretches the selection between the two words, including everything in between
To annotate the selected text, the user uses its shortcut or starts typing the annotation type name. For "Hormone", the user would start with "h ... o ..." and with each additional letter, the system proposes an automatic completion that is highlighted.
As long as the menu is open, the user can navigate through the list with "TAB". "Return" confirms the selection and assigns the annotation type.
Annotations can also be created using the keyboard only:
Use the arrow keys to navigate from token to token through the text. The tokens are highlighted one at a time to indicate their location. When the highlighting arrives at a token and the user enters the name of the annotation type and follows the same workflow as described above, that word becomes an annotation.
This method can also be used to annotate areas of words. The user can hold down the Shift key while drawing a range of tokens with the arrow keys.
If "Alt" is held down, the annotation mode is set to a "character by character" selection mode, in which the same mechanism is applied to each character. This mode does not allow annotation across areas, while leaving out words in between (such as "Ctrl + Click").
Create Relations
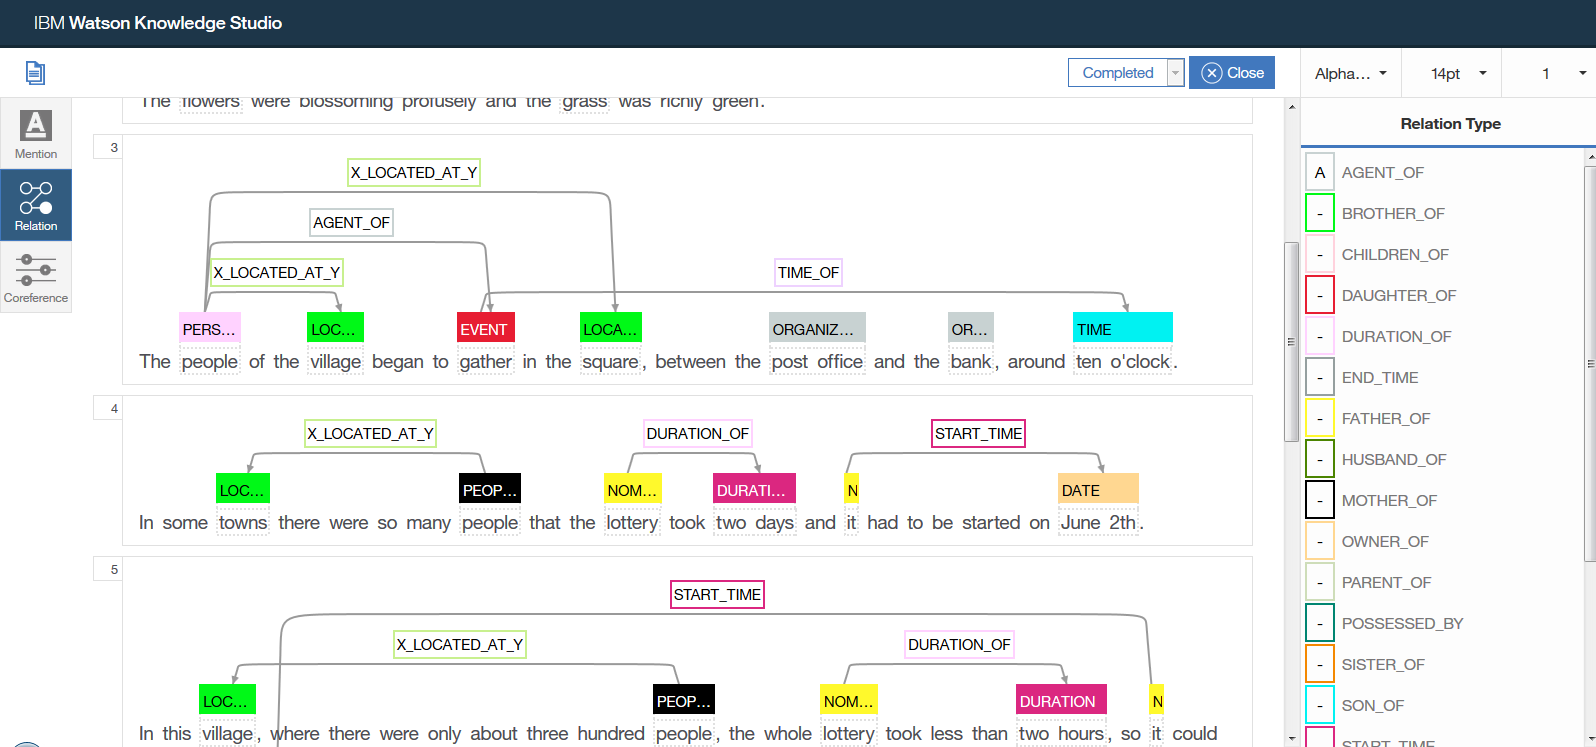
Relation annotations are created by switching to the relations tab in the Annotations List and dragging from one annotation label to the next one. Upon release of the mouse, the menu that allows the user to type in the name of the relation type pops up.
Created relations are collected in their own list and displayed through embracing brackets.
After this phase, the project was postponed to an unknown time, as the company decided to continue with other topics. They also wanted to wait until their base system, the Cognitive Workbench, was mature enough to effectively integrate this annotation editor.
